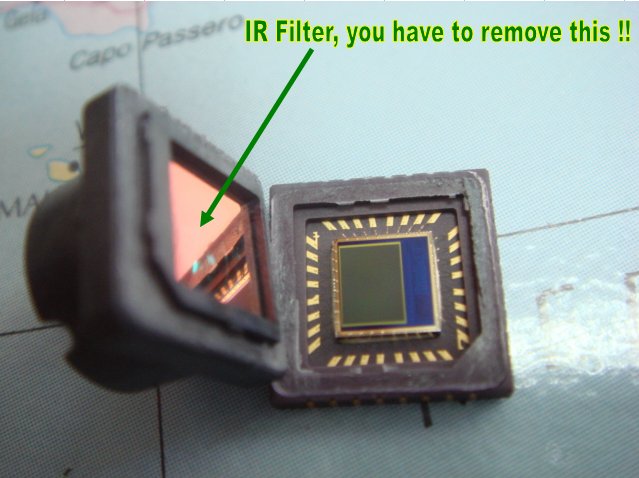
·STEP 5 REMOVING THE IR FILTER.
Now there are two ways for this, One easy way ( you have to break the IR filter) or If you want to keep your IR filter try Second Method, but I don't recommend !!
**Method 1 : Easiest Method
.
This method will damage your IR FILTER and you can't use it anymore. Don't do this if you want to convert your phone back normal in the future. However you can always get a P910i-P900 and P800 cameras easily for about 20$ on the market from shops where they sell Phone Spare Parts.Becareful, phone SPARE PARTS not ACCESSORIES. By the way, I think that Sony Ericsson will not change the camera for you, because they refuse to service your phone if you opened it up. ( I Live in Istanbul, and SE in Istanbul refused to give me a new camera, so I bought a spare one
from a Cell Phone Spare Parts shop.) Goto Method 2 if you want to keep your IR filter !!!
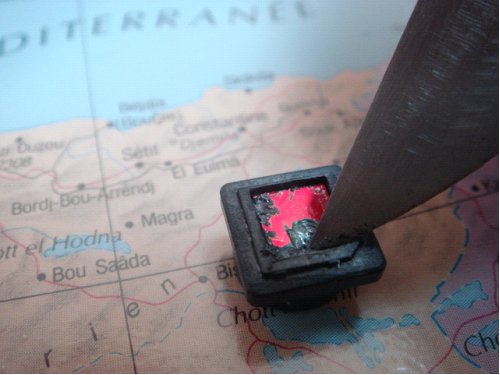
Take a Sharp knife and place it as shown on the picture
.Use some pressure and this part should open in a sec or two.
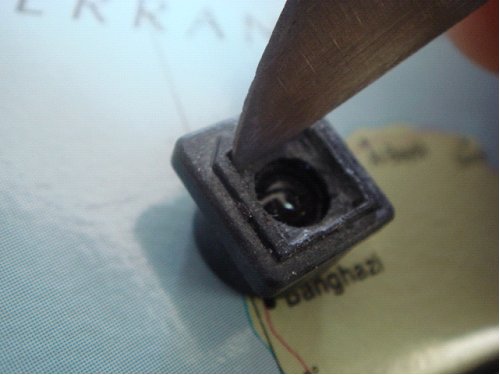
I think the IR filter was Glued to the plastic, so I had to break the IR Filter with my knife scraping off from the sides. Becareful don't scrap from the middle !!!
You may damage LENSES !!! Always from sides and slowly. Once the lens is out clear off the excess glass parts. Again do not touch the LENS at any times
.
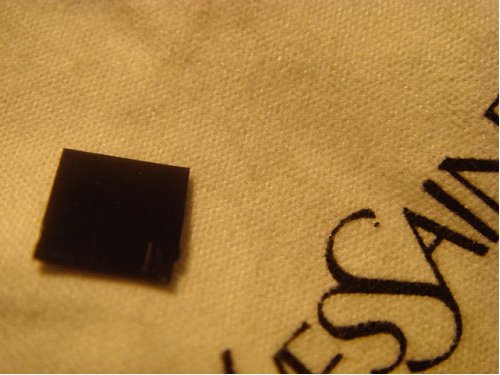
Now, take your Negative and cut a suitable piece which will fit in the original place of the IR Filter. Make sure you clean the negative with a fiber cloth or something similar.Before placing it it's place, you don't wanna shoot Infra Red and/or night vision pictures with your finger print on them :)))
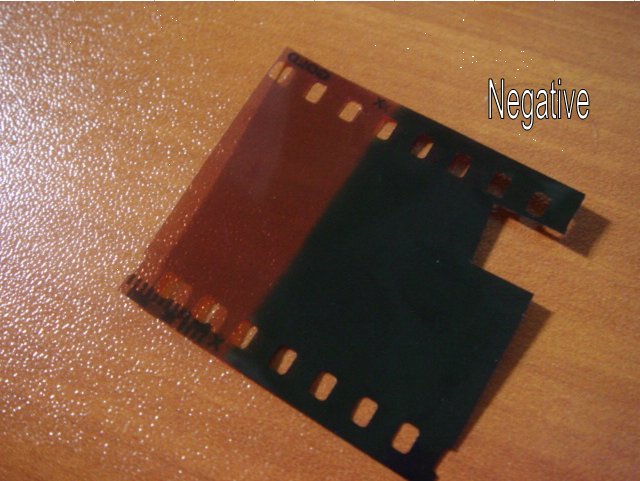
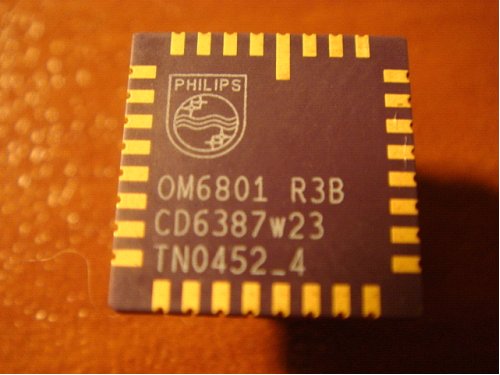
Place the negative in the original place of the IR filter, now you have to glue Philips Conductor (I don't know what it's called) to the camera. Don't use use much glue, just a little and make sure You don't spill glue the camera's new filter or the Camera sensor on the Philips conductor.
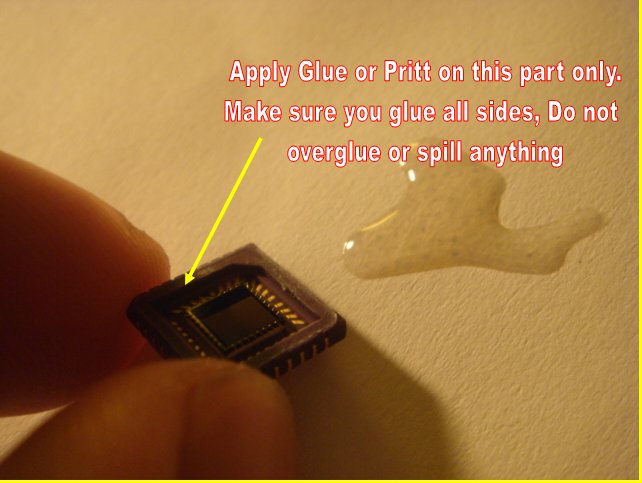
Now wait for a couple of minutes and put the glued complete piece in it's place.
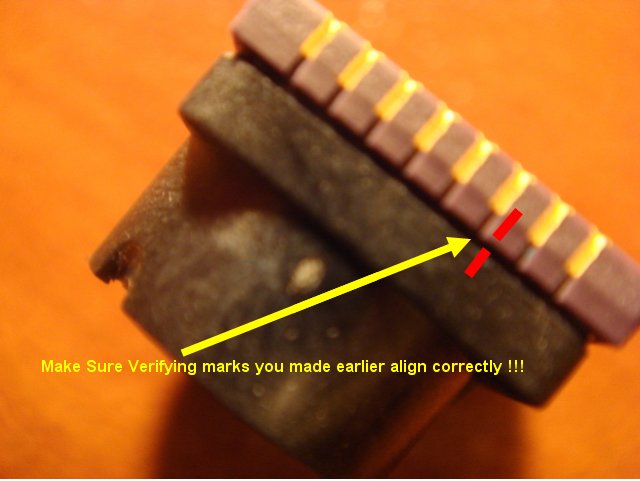
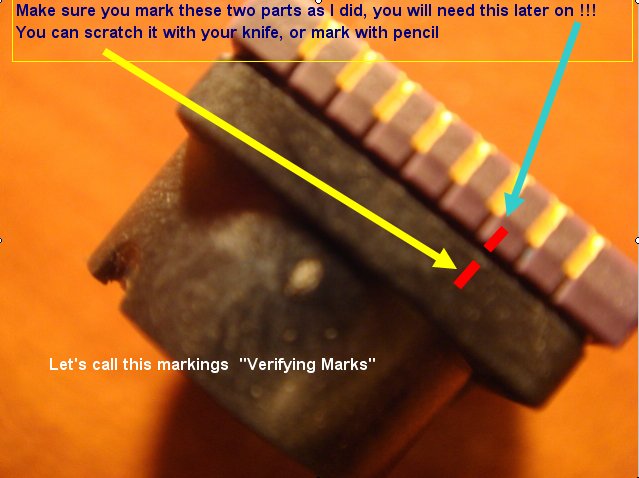
Make sure that the "VERIFYING MARKS" correctly alligned. !!!!!!!!
This is very important, if you do this wrongly, the camera will operate incorrectly !!!