
Back in part one, I described a project involving an ultrasonic distance sensor mounted on a stepper motor, all controlled with Scratch on a Raspberry Pi. Here, I’ll describe the sensor.
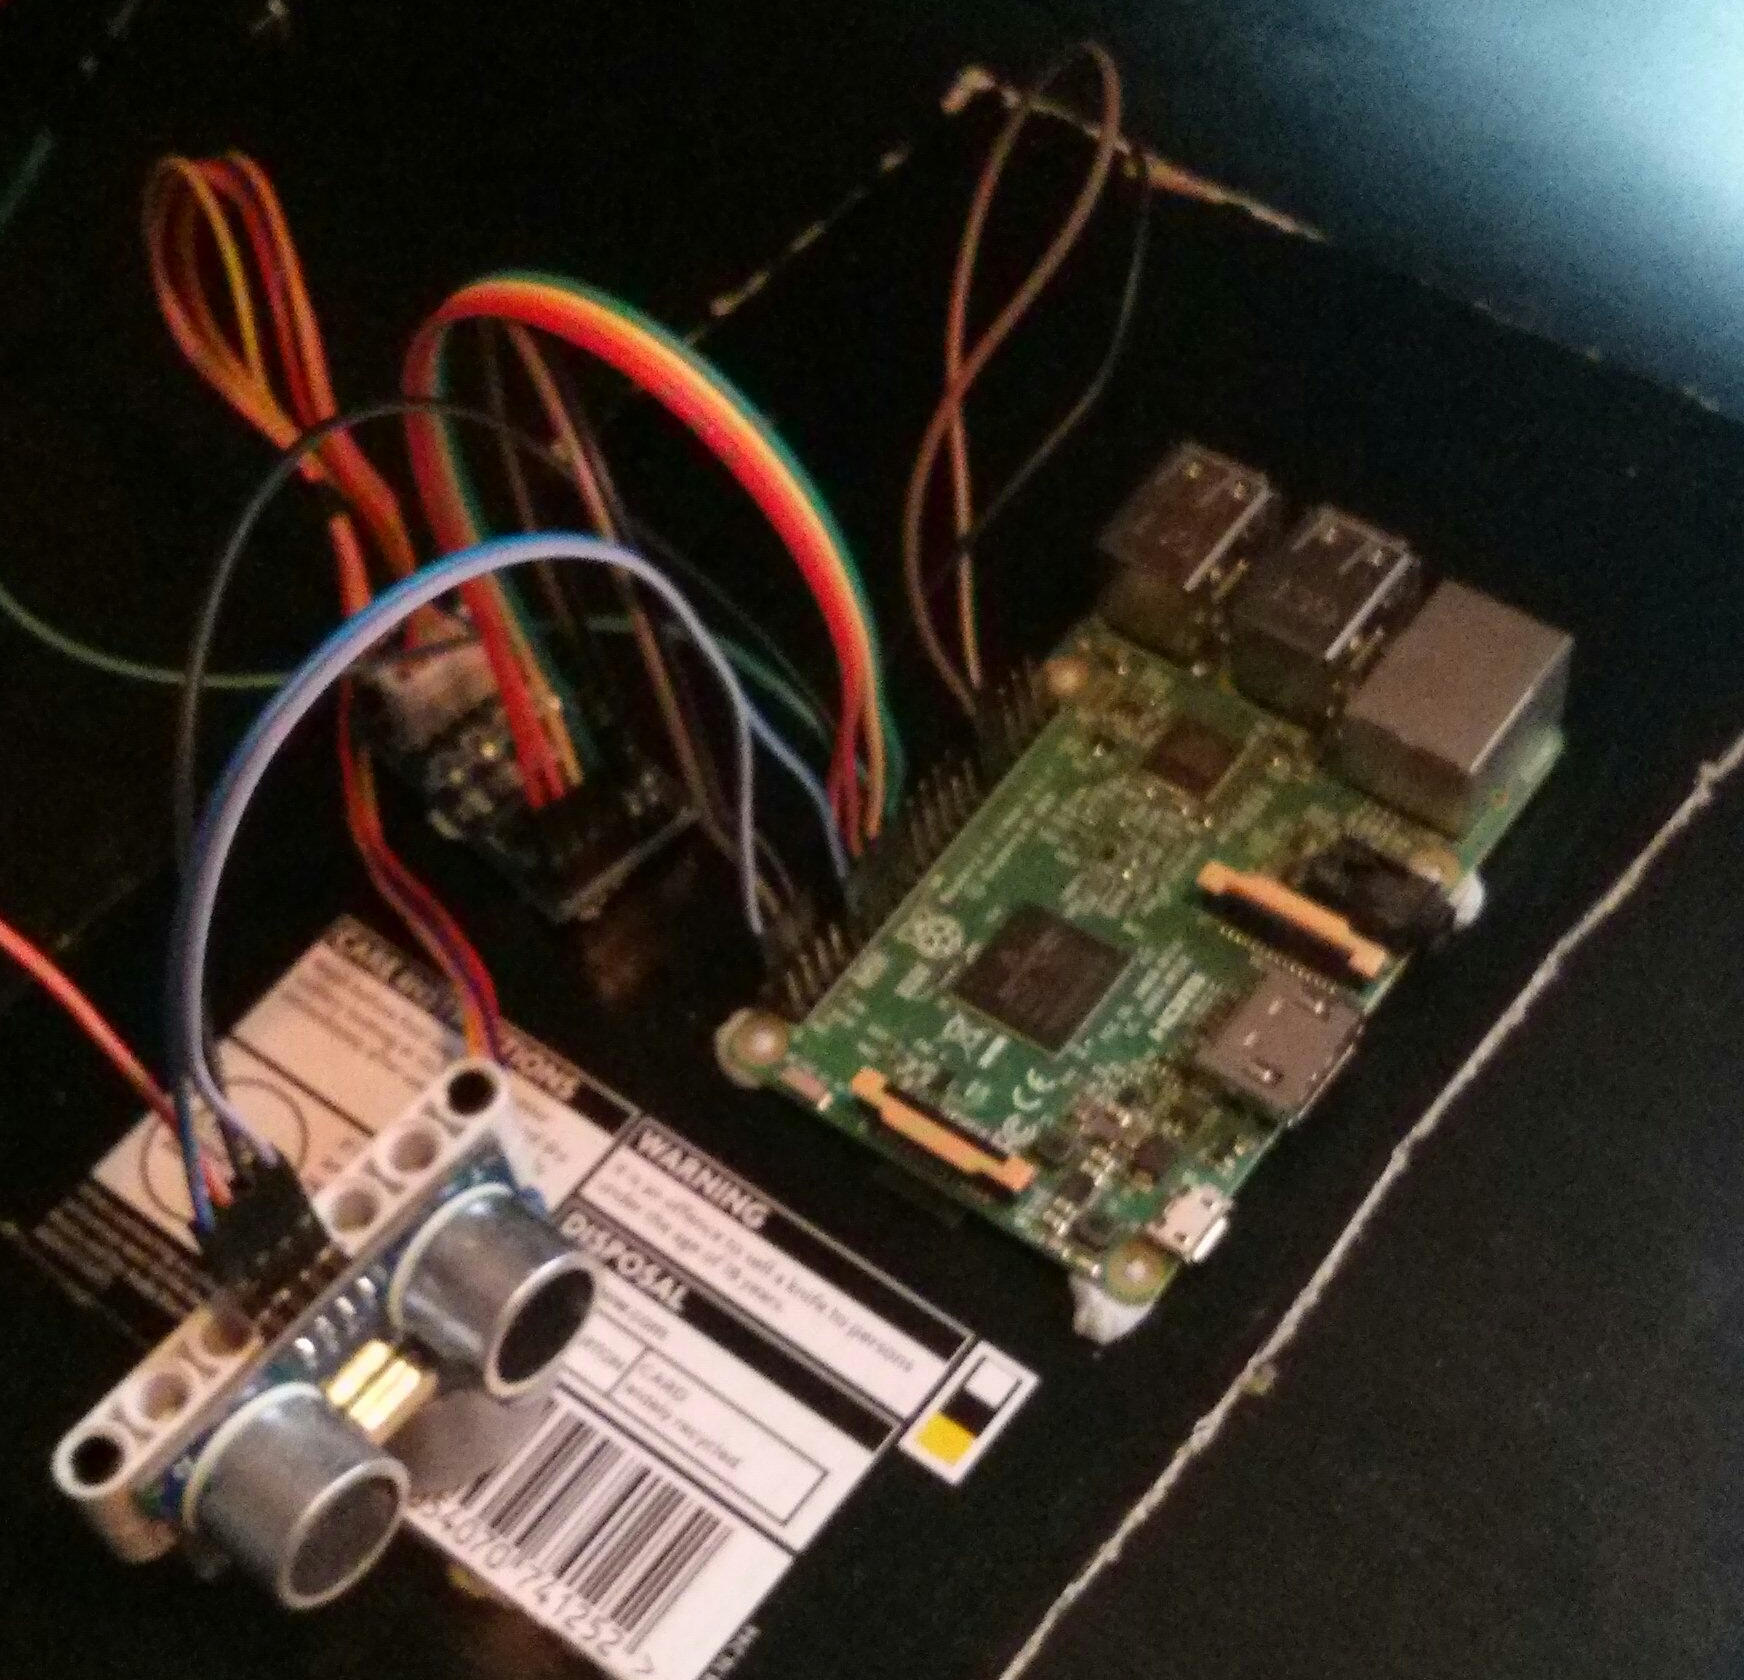
As usual, I got the electronics from eBay. This time it was a HC-SR04 Ultrasonic distance sensor, and due to the voltage difference, three 1kOhm resistors. One really good feature of this sensor is that it looks like a kind of pair of robotic eyes.
This sensor is a 5 Volt device, so a bit of care is needed to interface it to the Pi without damaging the Pi. The Pi has a 5V supply output, so that’s no problem and the 3.3V output of the Pi GPIO pins are enough to control the sensor. The only issue is the sensor output which is 5V. To safely connect this to the Pi, the voltage needs to be converted, but as the signal is only in one direction and isn’t a particularly high speed signal, a simple potential divider circuit works well enough. 3.3V is about two thirds of 5V, so if you connect the 5V signal to one end of a chain of three 1kOhm resistors, and the other end of the resistor chain to 0V, a 3.3V signal comes out between the first two resistors.
With the inputs and outputs safely connected, it’s down to the software to drive the sensor. The process is as follows…
- Wait until the sensor output is low
- Send a high output to the sensor trigger pin
- Wait a short time (at least 10 microseconds)
- Send a low to the sensor trigger pin
- The sensor outputs a small pulse of ultrasound
- The sensor output goes high – wait for this signal
- The ultrasound echo is received or the measurement times out
- The sensor output goes low
So, the time the output is high tells you the distance to the object in front of the sensor. The software needs to count how long it the pulse is but that’s a problem in Scratch. It’s lucky to be able to count to one in the time taken for the echo to be received. Luckily I can write a bit of C so can drive the sensor with a much more time efficient language, but getting the result from the C code to the Scratch code is a bit tricky. I ended up using another two GPIO pins, the C code takes the distance reading then outputs a pulse 10000 times longer on a GPIO pin. This GPIO pin is connected to the GPIO pin next to it. In scratch, the code waits for the start of the pulse, then counts the time to the end of it.
Here’s the C code.
// Compile with g++ -o dist dist.cpp -lwiringPi
// run with ./dist

// includes for various stuff
#include <stdio.h>
#include <wiringPi.h>
#include <unistd.h>

// Parameters for the main code
#define TRIGPIN 4
#define ECHOPIN 5
#define OUTPUTPIN 22

int main (void)
{
 // initialize the GPIO we're going to use.
 if (wiringPiSetup () == -1)
 return 1;
 pinMode (TRIGPIN, OUTPUT);
 pinMode (ECHOPIN, INPUT);
 pinMode (OUTPUTPIN, OUTPUT);

 // Repeat forever.
 while (true)
 {
  int dist = 0;

  // Wait 0.25 sec before doing anything.
  usleep(250000);

  // make sure the sensoe output is zero before we trigger it.
  while (digitalRead(ECHOPIN));

  // send the trigger pulse.
  digitalWrite(TRIGPIN,1);
  usleep(10);
  digitalWrite(TRIGPIN,0);

  // wait for the output to go high.
  while (!digitalRead(ECHOPIN));

  // count the microseconds until it goes low.
  while (digitalRead(ECHOPIN) && dist < 250)
  {
    dist ++;
    usleep(1);
  }

  printf("Distance = %d\n",dist);

  // now output a pulse 10000 times longer.
  digitalWrite(OUTPUTPIN,1);
  for (int i = 0 ; i < dist ; i++)
  {
   usleep(10000);
  }
  digitalWrite(OUTPUTPIN,0);
 }
  return 0;
}
And here’s the scratch to take a reading.

As you can see, it’s triggered by a broadcast event from the main control loop.
Later I’ll describe how it all hooked together and show the output, but my battery is dying so I’ll have to stop here.
Hello, happy that i stumble on this in google. Thanks!