Adapted from Geoff Johnson's Page here
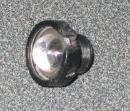
Pry open the casing to the webcam and unscrew the lens assembly.
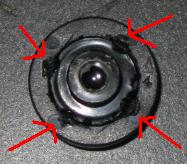
Use a kinfe to cut the four parts of the plastic casing on the lens that have been melted together. Remove the inner piece.
Next, the small plastic ring near the front of the lens must be removed. The only way to get it off is to pry it off. A small flat-head screw driver works well.
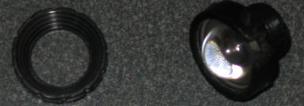
Now for the hardest part of the whole thing, to get the big lens out, a small hole has to be cut in the side of the plastic. The only was I found to do this was to use a small saw (careful not to scratch the lens). After the hole is made, pry the front lens out (it's not glued).
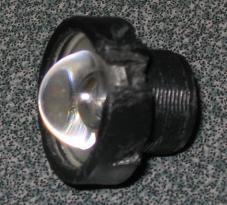
Now, use a thin blunt object (I used the long part of a Bic pen cap) to push out the small lens and the IR filter. Push from the small opening in the back of the plastic lens assembly. The pieces should be arranged in the order shown below. The IR filter is the small square piece in the middle.
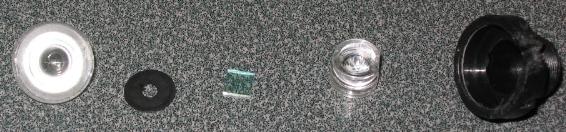
The last step is to add the visible light filter (from black area of film negatives, see Geoff's page for details). The best place to do this is between the black plastic disc and the small cyndrical lens. Assemble everything back together and it will work with infra red light.
Written by Ken R.